Manage AP evidence versions and document reviews
Find or create the document record, check its version history and review date and use the permitted sign-off, link or sharing control. In an alternative provision workspace, Evidence Store opens the shared Evidence Store and Document Control application. The document record preserves what was uploaded; staff decide what it establishes and who should see it.
Before you begin
Section titled “Before you begin”You need access to Evidence Store. Document management, confidential-document access, signing and sharing have separate permission boundaries. Read-only access may show fewer controls. A link to another workspace does not grant access there.
Prepare an approved file or HTTPS link, a clear title, appropriate confidentiality and a review date if one is required. Confirm you have authority to store and share its contents. Keep specialist records in their owning workflow; documents created by school setup, headteacher reporting or CPD packs may need changes in their source application.
1. Find and open evidence
Section titled “1. Find and open evidence”- Open Evidence Store in the AP navigation.
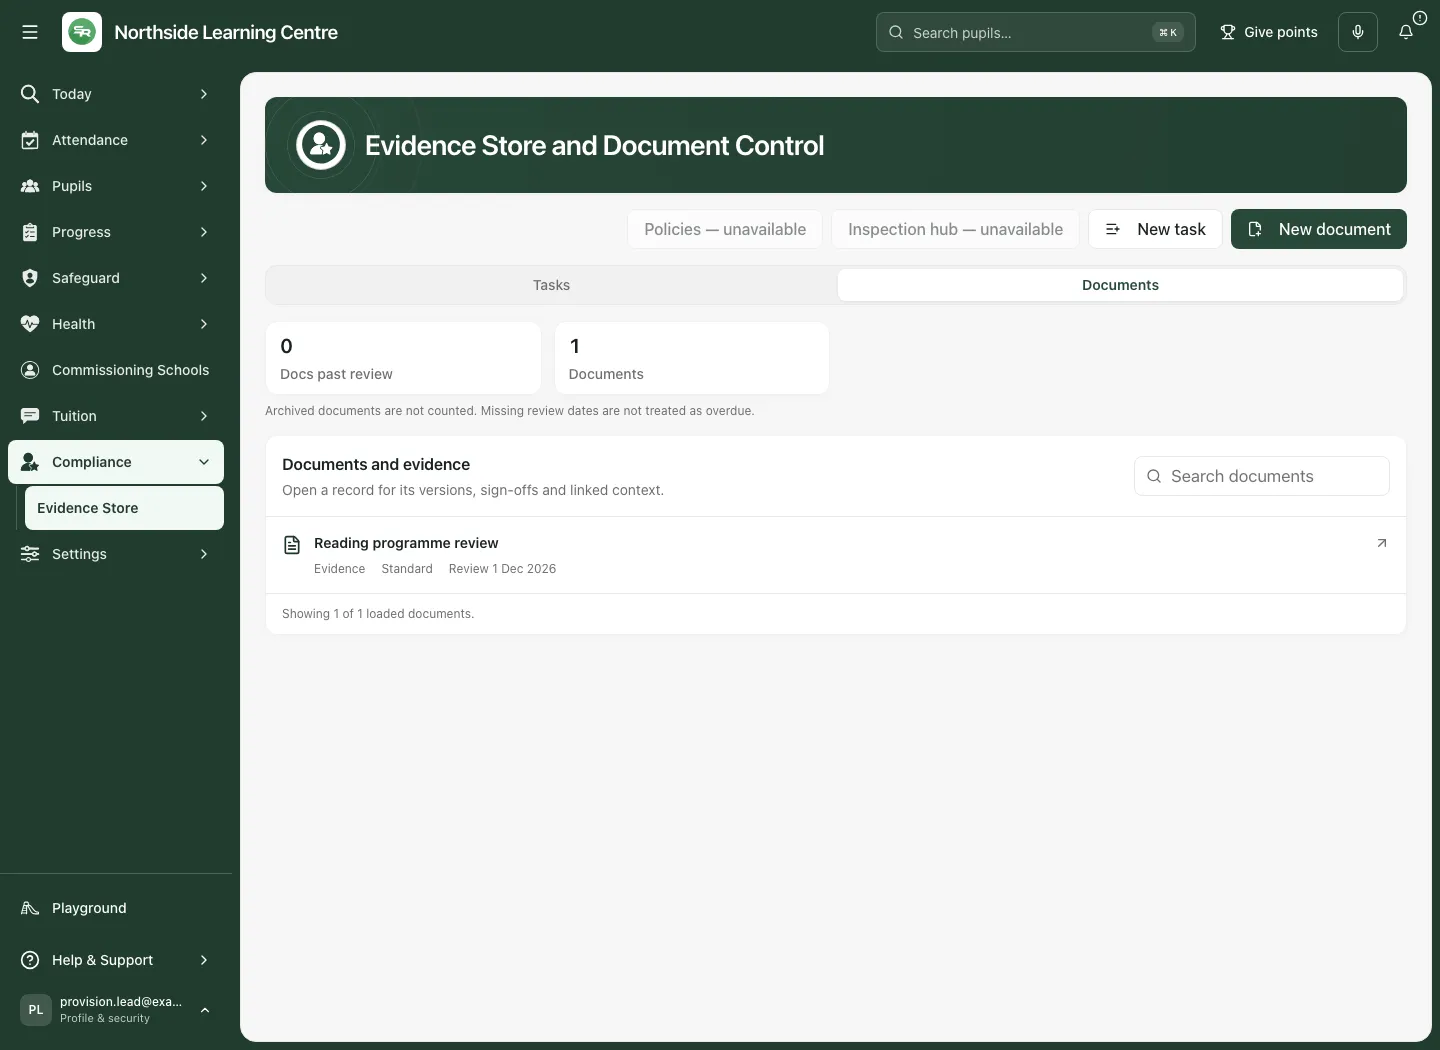
- Read Documents, Docs past review and the explanatory note together. Archived documents are not counted; a missing review date is not treated as overdue.
- In Documents and evidence, identify the title, type, confidentiality and review date. The list describes the records currently loaded, not a promise that every document in the organisation has been retrieved.
- Select the document title to open Versions, Read & sign and Links. Opening a record records that it was read; reading is distinct from signing.
- Use available Policies or Inspection hub links when relevant. An unavailable destination is not evidence that no policy or inspection material exists.
2. Create a document record
Section titled “2. Create a document record”- Choose New document to open Create document.
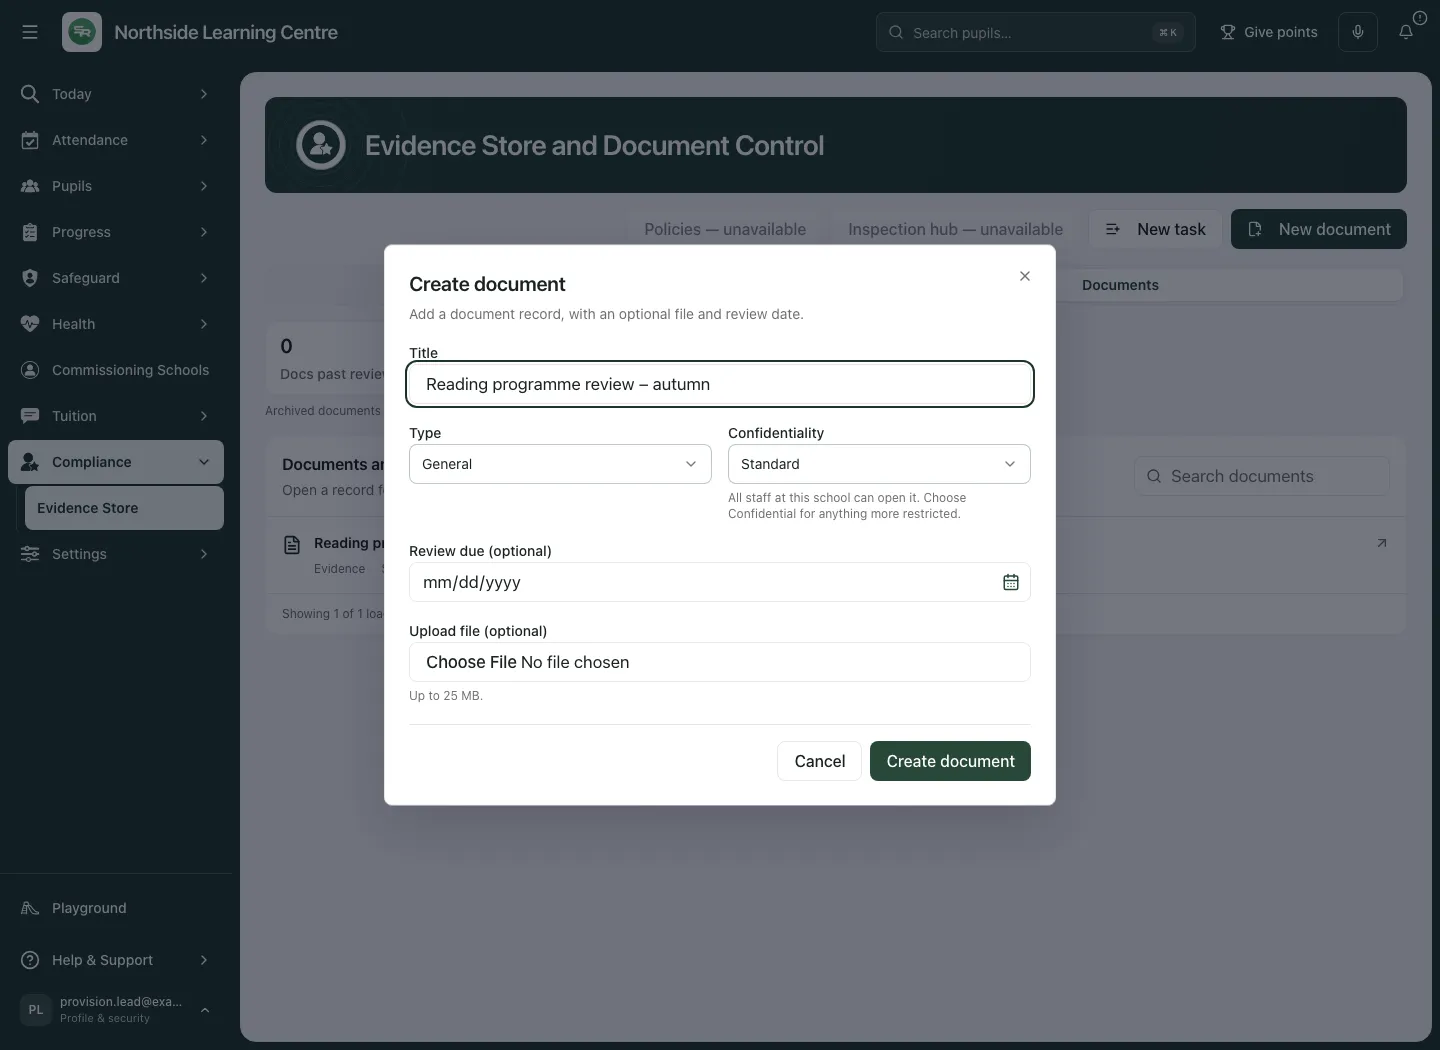
- Enter Title (up to 300 characters). Choose Type: General, Policy, Minutes, Report, Evidence, Evidence pack or Link, as appropriate to the record.
- Choose Confidentiality. Standard is for staff at this school; Confidential requires the appropriate restricted-document access. Decide this before storing sensitive material.
- Enter Review due (optional). For Type Link, enter a valid HTTPS Link; do not use an unsafe or local file address.
- Choose Upload file (optional) when you are adding a file. Files are limited to 25 MB. The picker supports PDF, Office/OpenDocument, text/CSV/RTF, common images and email files; executable/script/HTML/SVG and other unsafe formats are refused. A file passing the picker still needs the server’s checks.
- When a file is selected, add Change note (optional) to describe that version, up to 2,000 characters.
- Review title, type, classification, review date and selected file, then choose Create document once. Wait for the result.
- Reopen the record and check the version and details. If the document record saved but the file failed, retain the existing record and use its version-upload flow; do not create a duplicate record.
3. Read and maintain the version history
Section titled “3. Read and maintain the version history”- Open the document’s Versions tab.
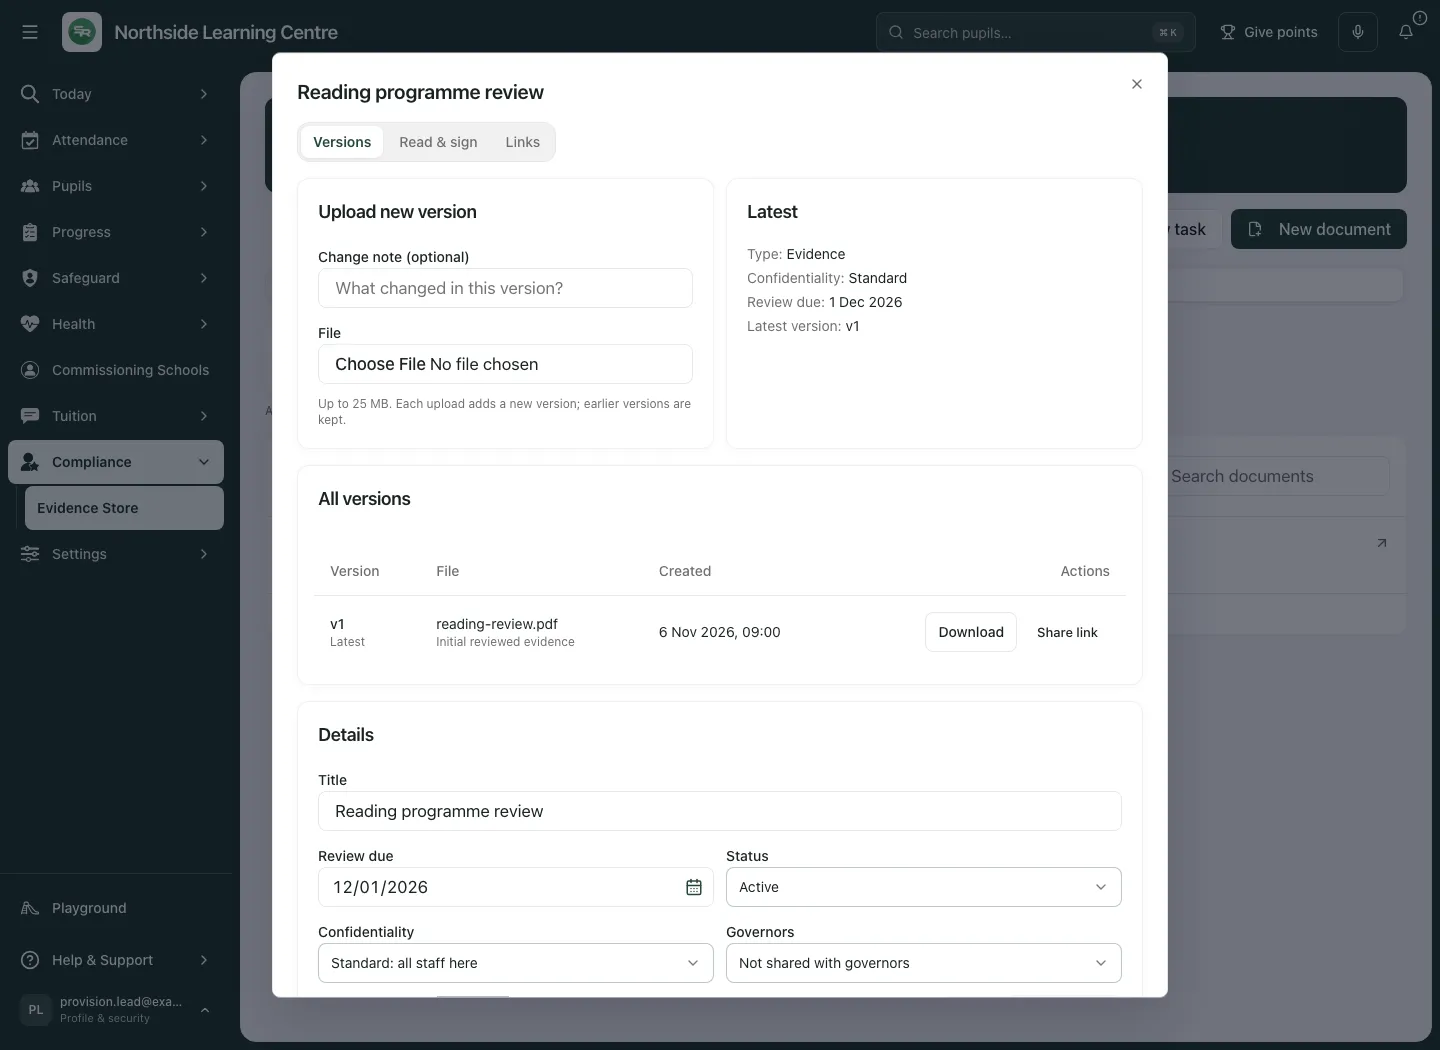
- Check Latest, the type, confidentiality, review date and latest version number.
- Read All versions, including the file name, creation time and change note. Earlier versions remain in the history when another file is uploaded.
- To add a version where permitted, enter Change note (optional) and choose File under Upload new version. The same 25 MB and safe-file rules apply. File selection starts the supported upload flow; wait for completion before navigating away.
- Confirm that the latest version and change note are correct. A new upload is a new version; it does not mean everyone has read or signed it.
- Use Download against the intended version when you need an authorised copy. Check the version number rather than assuming the first downloaded file is current.
4. Update details and handle concurrent edits
Section titled “4. Update details and handle concurrent edits”- In Versions, find Details.
- Review Title, Review due, Status, Confidentiality and Governors.
- Make the authorised changes. Governors is an explicit audience decision; it does not remove confidentiality requirements. Status changes do not erase the version history.
- Choose Save details, wait for confirmation and reopen the document to verify the result.
- If another person changed the record, review the field-level comparison. Use Keep your [field] or Use the saved [field] for each conflict, then review and save the intended combined details. Do not overwrite an unfamiliar saved change without checking it.
5. Read and sign the latest version
Section titled “5. Read and sign the latest version”- Open Read & sign and check Latest version.
- Read the actual latest file before signing. Opening the record alone is not an attestation.
- If you have signing permission, choose Sign once. The resulting signature is attached to that version and your signed-in identity.
- Check the confirmation or your existing signature. If a newer version is uploaded later, the earlier signature remains an attestation to the earlier version.
- Review Recent attestations where permitted. A person without management access may see only their own signatures rather than everyone’s activity.
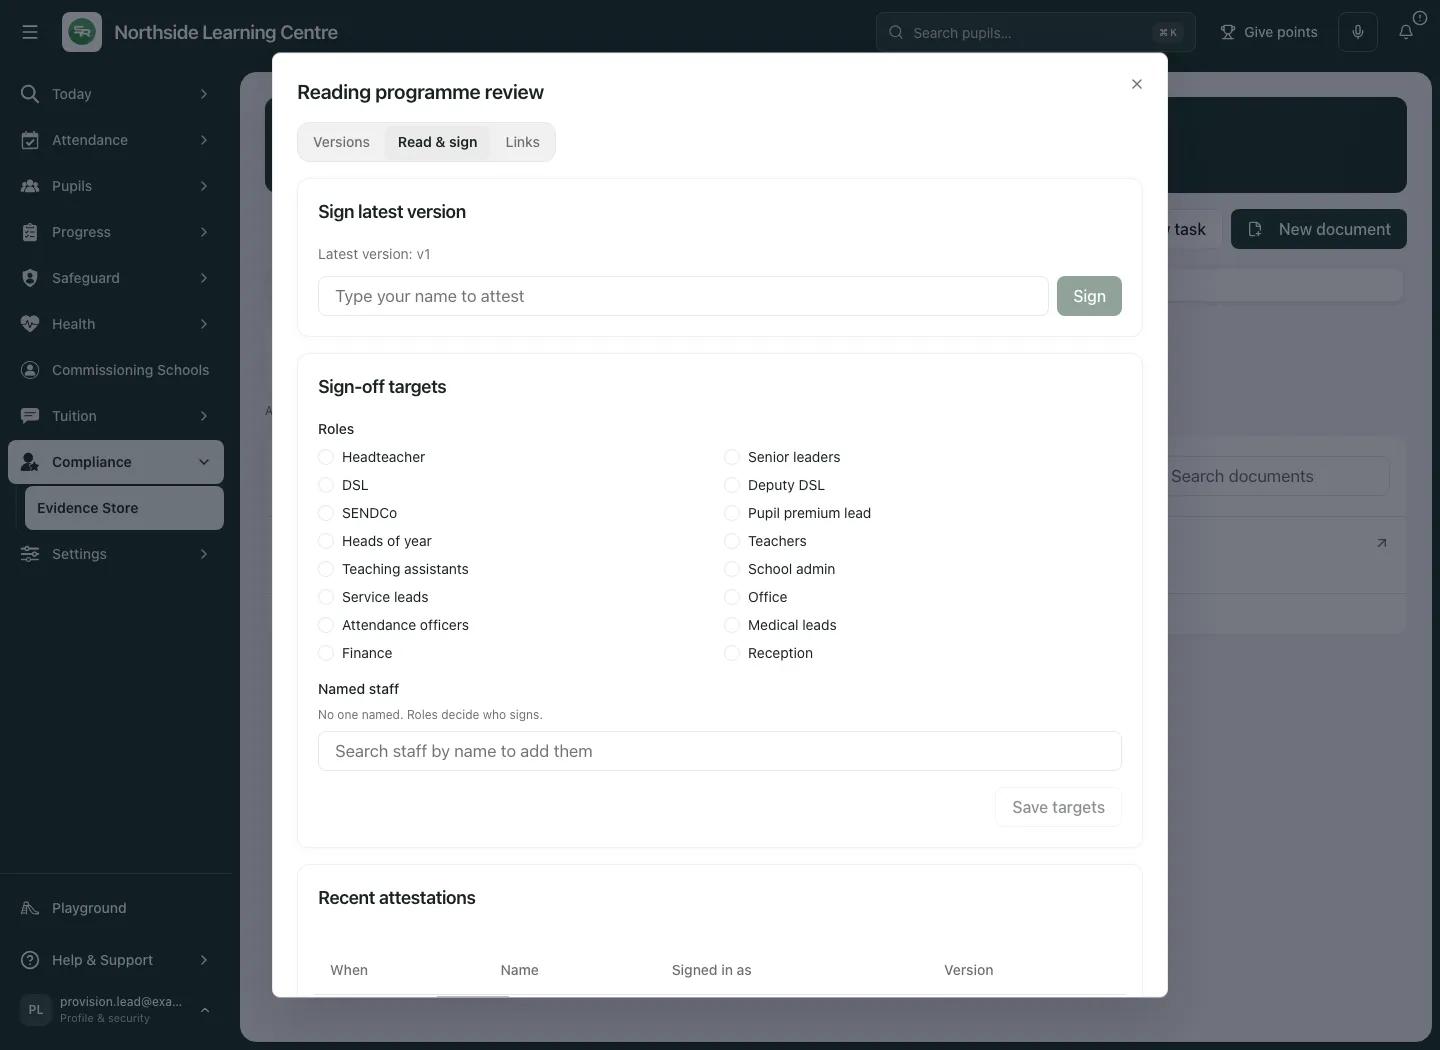
To set who is expected to sign, an authorised document manager chooses the intended Roles and/or Named staff in Sign-off targets, then Save targets. Check the resulting selection. Targets describe who should sign; selecting someone does not sign on their behalf or establish that they received a message.
6. Link the evidence to its purpose
Section titled “6. Link the evidence to its purpose”- Open Links and read Existing links first.
- Under Add links, choose the appropriate Framework node, Leadership action or Leadership priority.
- Select the precise permitted source record, then choose its Link button. Each chooser has its own Link action.
- Check the entry in Existing links, including its relationship and date. Open the source context where a destination is available.
- If choices cannot load, retry the source rather than treating the chooser as proof that no record exists. An empty selection is not a successful link.
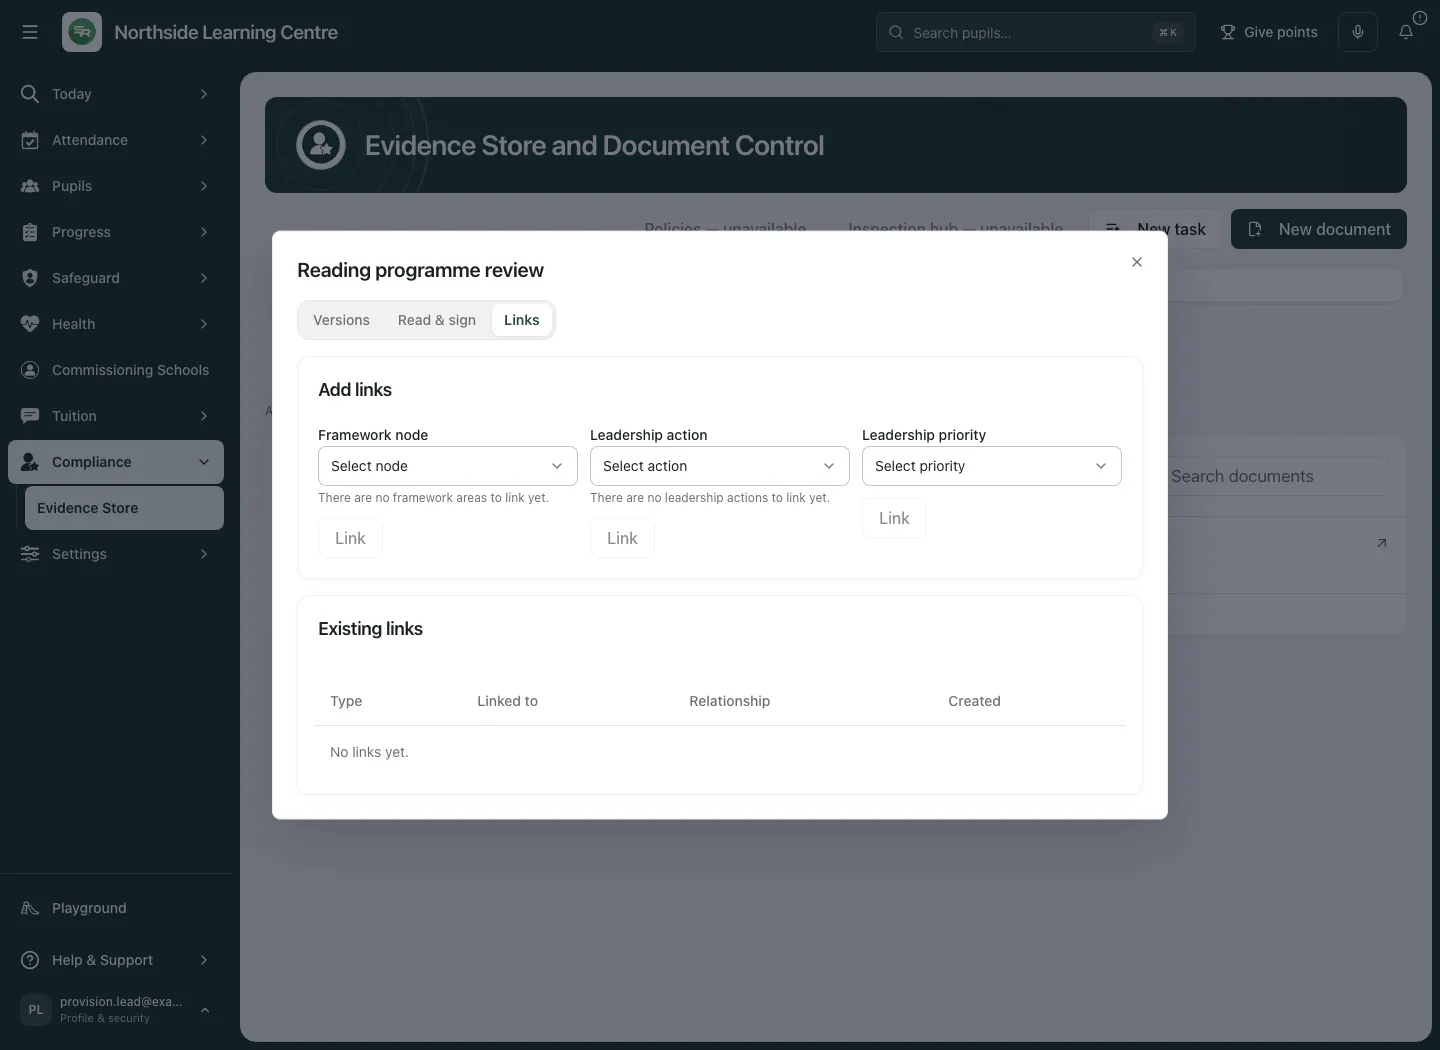
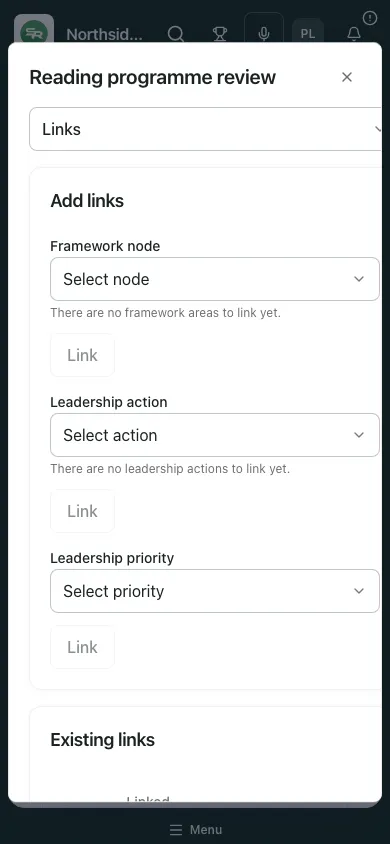
A relationship explains why evidence is relevant; it does not establish that an action improved provision or bypass the linked record’s access boundary.
7. Share a specific version with care
Section titled “7. Share a specific version with care”- Confirm the material is appropriate for external sharing and your role offers Share link against the intended version.
- Choose Share link. The supported action prepares a 14-day link for that version and copies it, or shows it when clipboard access is unavailable.
- Read the expiry confirmation. Share only with the intended recipient through your approved process; anyone possessing a bearer link must be treated as having a sensitive copy route.
- Keep confidential or pupil/placement-linked evidence within the restrictions shown by the application. If sharing is unavailable, use the approved restricted workflow rather than another version or classification to circumvent it.
Creating or copying a link is not delivery, receipt or review by the recipient. The screenshots show the available control; they do not show an externally issued link.
8. Tasks and evidence packs
Section titled “8. Tasks and evidence packs”Use New task for follow-up work in this workspace: enter Title, Description (optional), Due date (optional) and Priority, then Create task. Include the accountable person and expected outcome in the description when relevant. Reopen the task to confirm it; a completed task does not establish an evidence-based impact.
Create evidence pack (ZIP), where offered, is currently unavailable: Generate ZIP is disabled. The application keeps the selection and does not create a pack document or links. Do not assume a ZIP has been generated or send an empty placeholder as evidence.
Troubleshooting and questions
Section titled “Troubleshooting and questions”- The list is empty or failed: read the loaded-count/error message. Missing access, a loading failure and no matching records are different situations.
- An upload is refused: check 25 MB, the file name/type and the displayed reason. Use an approved safe format; renaming an executable does not make it safe.
- A record exists but its file is missing: reopen the saved record and add its version after resolving the upload issue. Avoid creating duplicate metadata.
- Create result uncertain: use the offered draft/recovery route and check the list before trying again. Keep the original draft until you know whether it saved.
- Save details is disabled: check permission, changed fields, title and unresolved conflicts. Source-owned document kinds may need changes at their origin.
- No Sign button: check whether there is an uploaded latest version and whether your role can sign. Read access alone is insufficient.
- Share link unavailable: classification, learner links, role and source-owned restrictions can limit it. Ask the appropriate record owner.
Does a review date update itself after reading? Reading, review scheduling and signing are separate actions. Maintain the review date deliberately.
Does a signature prove the document’s claims are correct? It records a person’s attestation to a version; professional evaluation and the evidence behind its claims remain separate.
Is this a second AP document system? No. AP Evidence Store uses the shared document-control workspace, with the access and specialist-source boundaries applicable to the provision.
Related: AP single central record.