Find the right AP evidence recording workspace
Written for: Authorised school and alternative-provision staff recording evidence.
Open Evidence Capture to choose the appropriate observation, check-in or document workspace, then complete and verify the save in that destination. Standalone capture is not available yet. Evidence Capture itself does not save files or observations; complete and check the save in the destination.
The destinations depend on your school’s setting, active AP status, page access and specific action permissions. A link never grants access to restricted pupil, safeguarding, health or document information. All examples use fictional records.
Choose a destination from the available workspaces
Section titled “Choose a destination from the available workspaces”- Open Evidence Capture. At an active provision it appears under Progress.
- Read the notice explaining that this page does not save files or observations.
- Wait for Checking available evidence workspaces… to finish. Do not interpret a loading or failed access check as an empty evidence history.
- Read the action-specific description beside the workspace. It distinguishes a place you can add evidence from a place you can only read it.
- Select the appropriate Open … link, then check the destination, pupil/document and intended action before entering anything.
- Save using that workspace’s actual final control and reopen the record to verify it. Returning to this hub does not show a save receipt, upload queue or combined evidence history.
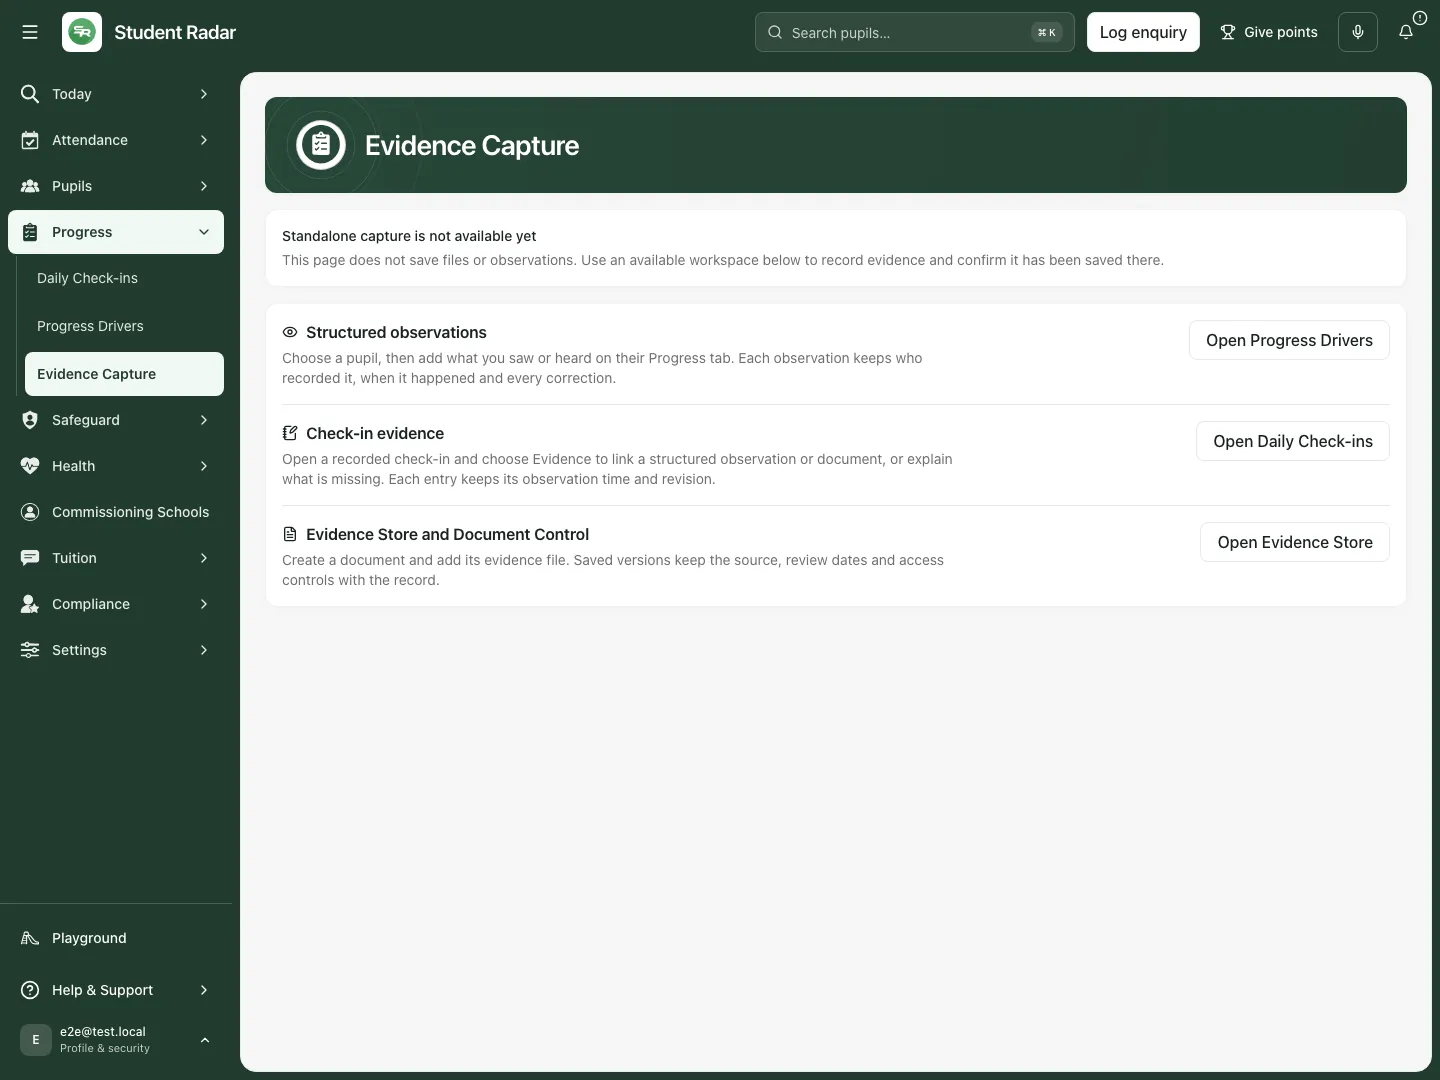 The fictional active provision offers structured observations, check-in evidence and the Evidence Store. The notice makes clear that none is saved directly on this hub.
Open a structured pupil observation
Section titled “Open a structured pupil observation”- At an active provision, Structured observations appears when Progress Drivers access and observation creation are available.
- Choose Open Progress Drivers.
- Find the pupil and select Open progress record, then the pupil’s Progress context.
- Choose Add observation. Check Context category, Observed at, Session or setting, What happened immediately before?, What was directly seen or heard? and What happened immediately afterwards?
- Choose Save observation only for the intended factual account. Reopen the item and inspect its time, recorder and content. A driver review is a separate record from a structured observation.
- Use a reasoned Correct observation or Void observation action for later changes where permitted. Do not assume the hub can undo a destination save.
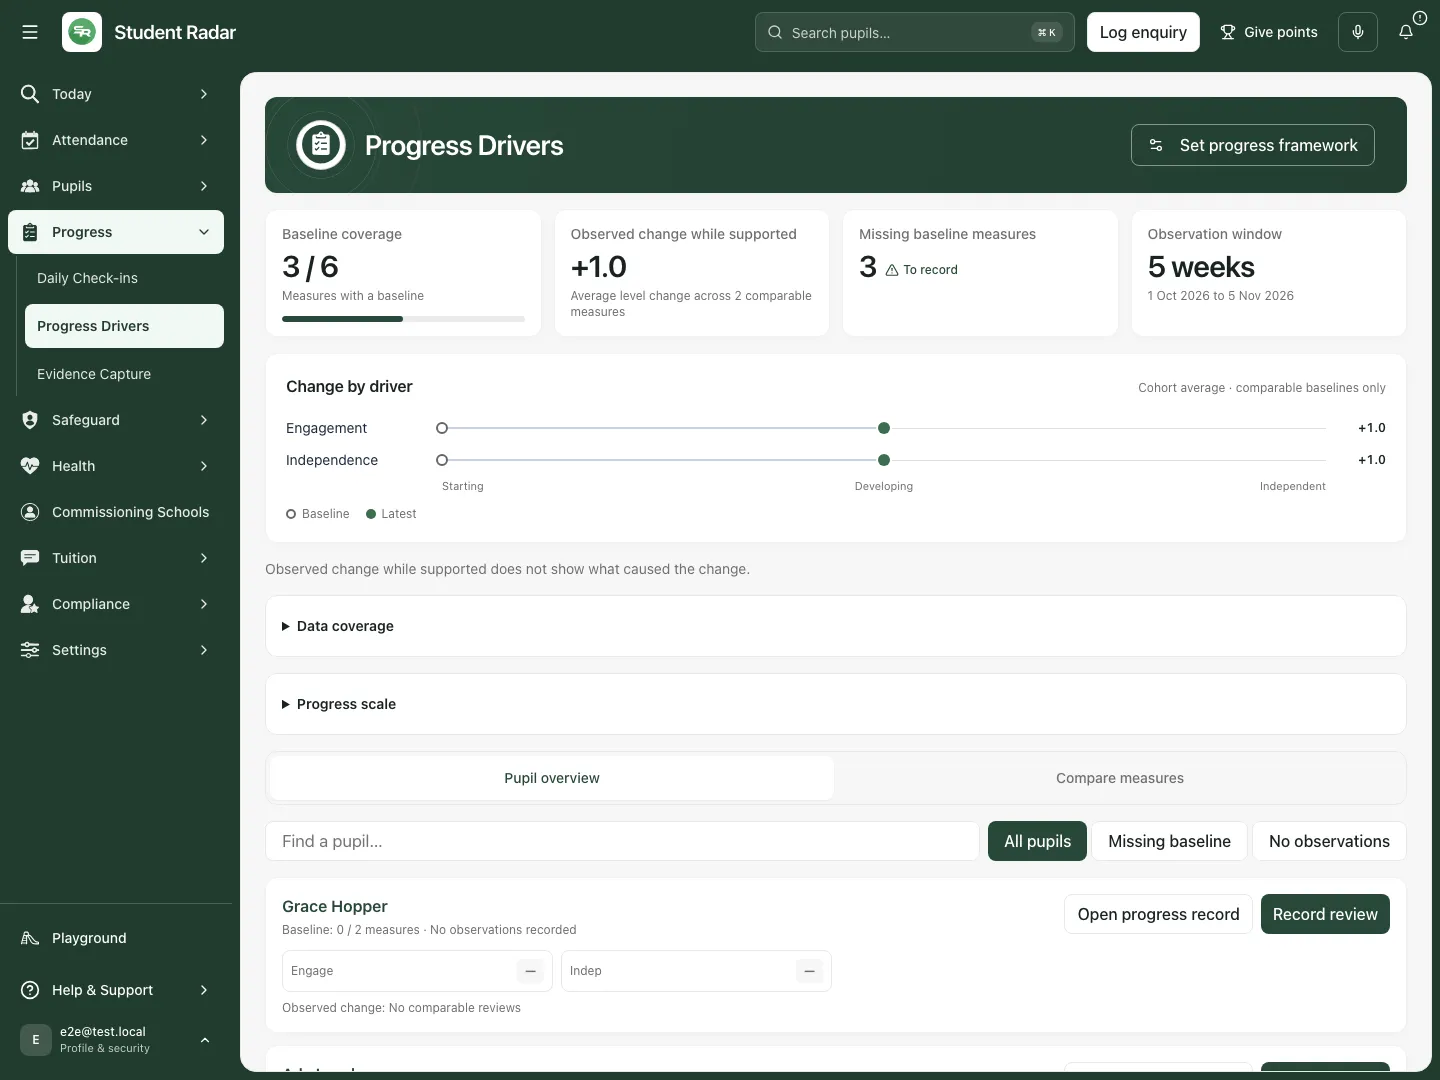 The native link opens the fictional Progress Drivers record and its coverage context. The navigation itself creates no observation or review.
See Review AP Progress Drivers for the full dated review, observation and correction walkthroughs.
Open check-in evidence with the right action scope
Section titled “Open check-in evidence with the right action scope”- At an active provision, Check-in evidence requires Daily Check-ins page access, provision progress viewing and session-evidence viewing.
- Read the description. Staff who can review/manage evidence are told they can link a structured observation or document, or explain what is missing. Read-only staff are told they can inspect links and ask a lead to add something.
- Choose Open Daily Check-ins.
- Open the intended recorded check-in and choose Evidence. Check the pupil, session and observation time before reading or changing links.
- If you have the destination’s management controls, record the intended evidence link or missing-evidence explanation there, inspect the resulting saved state and revision, then reopen it. If you only have reading access, do not create a substitute note elsewhere to bypass the boundary.
- A link to a document is not the same as an observation, a driver score or proof that the check-in itself was corrected. Keep those source records and dates distinct.
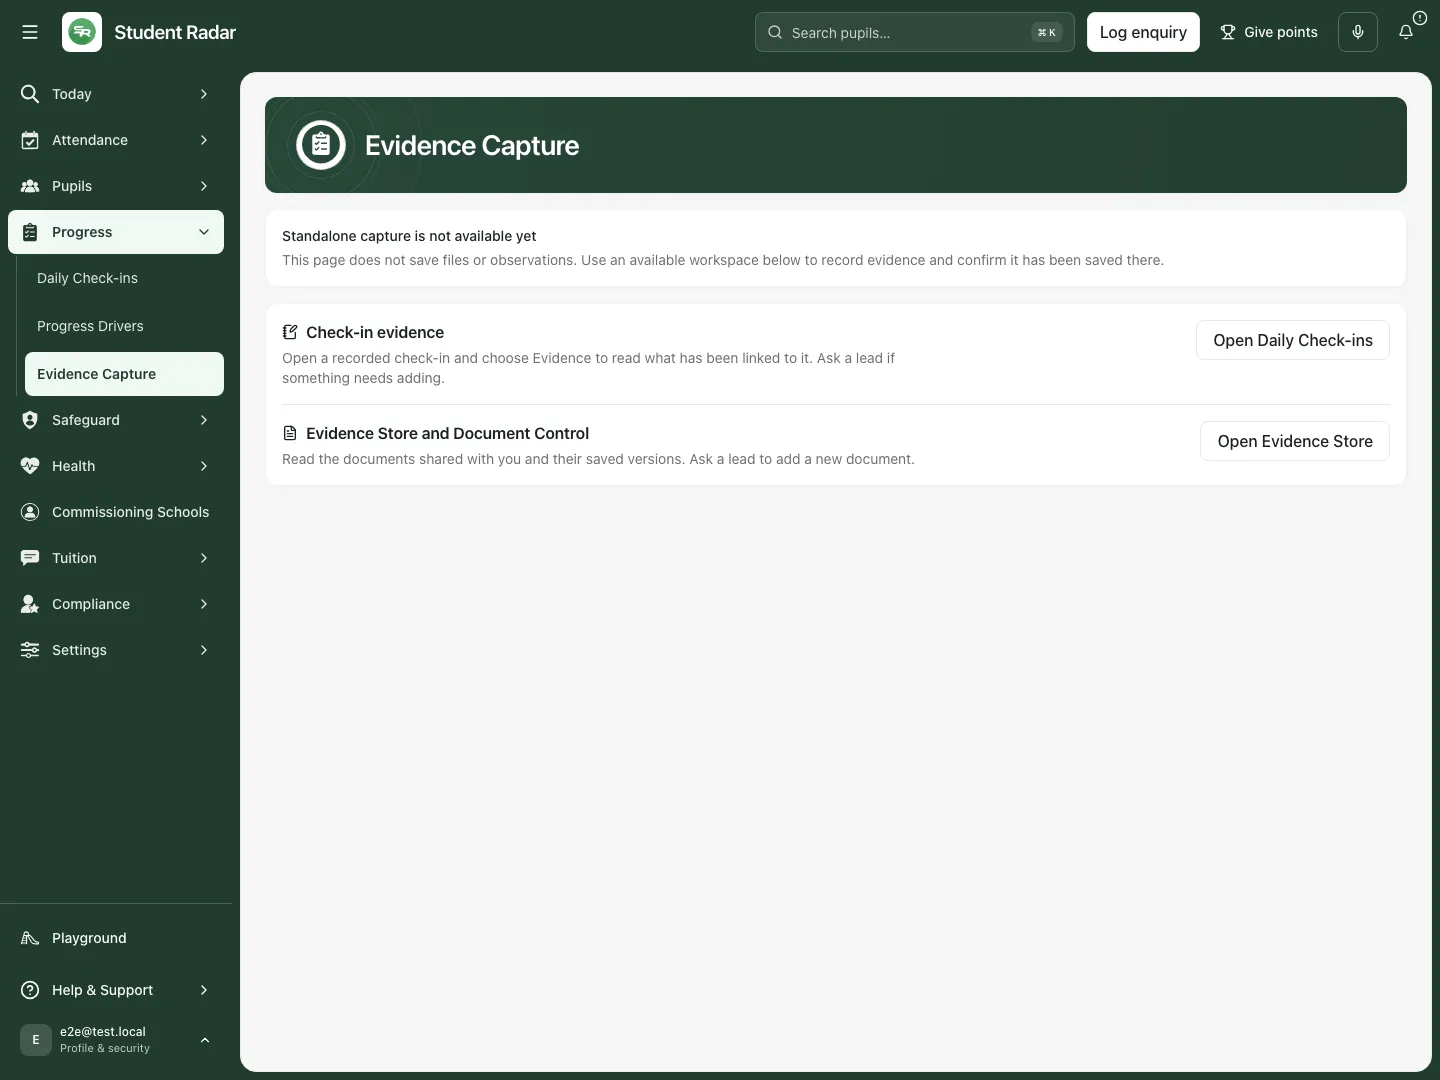 The fictional read-only example removes structured-observation creation and describes reading check-in links. The Evidence Store description also asks a lead to add a document.
Open the Evidence Store and Document Control
Section titled “Open the Evidence Store and Document Control”- Evidence Store and Document Control appears when that workspace is available to you. It can be offered independently of active AP status.
- Read its description. A reader is offered shared documents and saved versions; a permitted manager is directed to create a document and add its evidence file.
- Choose Open Evidence Store.
- In the destination, select the intended document or create the permitted new record. Check the source, audience/access, review dates and intended file/version before saving.
- Complete the document workspace’s save/version controls and inspect the resulting saved version. The hub does not upload files, select recipients or publish documents.
- If the destination refuses access or an operation fails, resolve that state there. A card appearing on the hub is not an assurance that every document or write is permitted.
Understand the non-AP branch
Section titled “Understand the non-AP branch”- For a school that is not configured as alternative provision, AP Progress Drivers and Daily Check-ins are not offered by this hub.
- EYFS observations is offered where EYFS Assessment access is available. It is described for Nursery and Reception children.
- Choose Open EYFS Assessment, then open the intended child’s learning goal to use its notes/photo/document recording workflow.
- Check the saved child/goal record in that destination. An EYFS observation is not automatically a provision driver review or check-in evidence link.
- The Evidence Store can still appear according to its own page access.
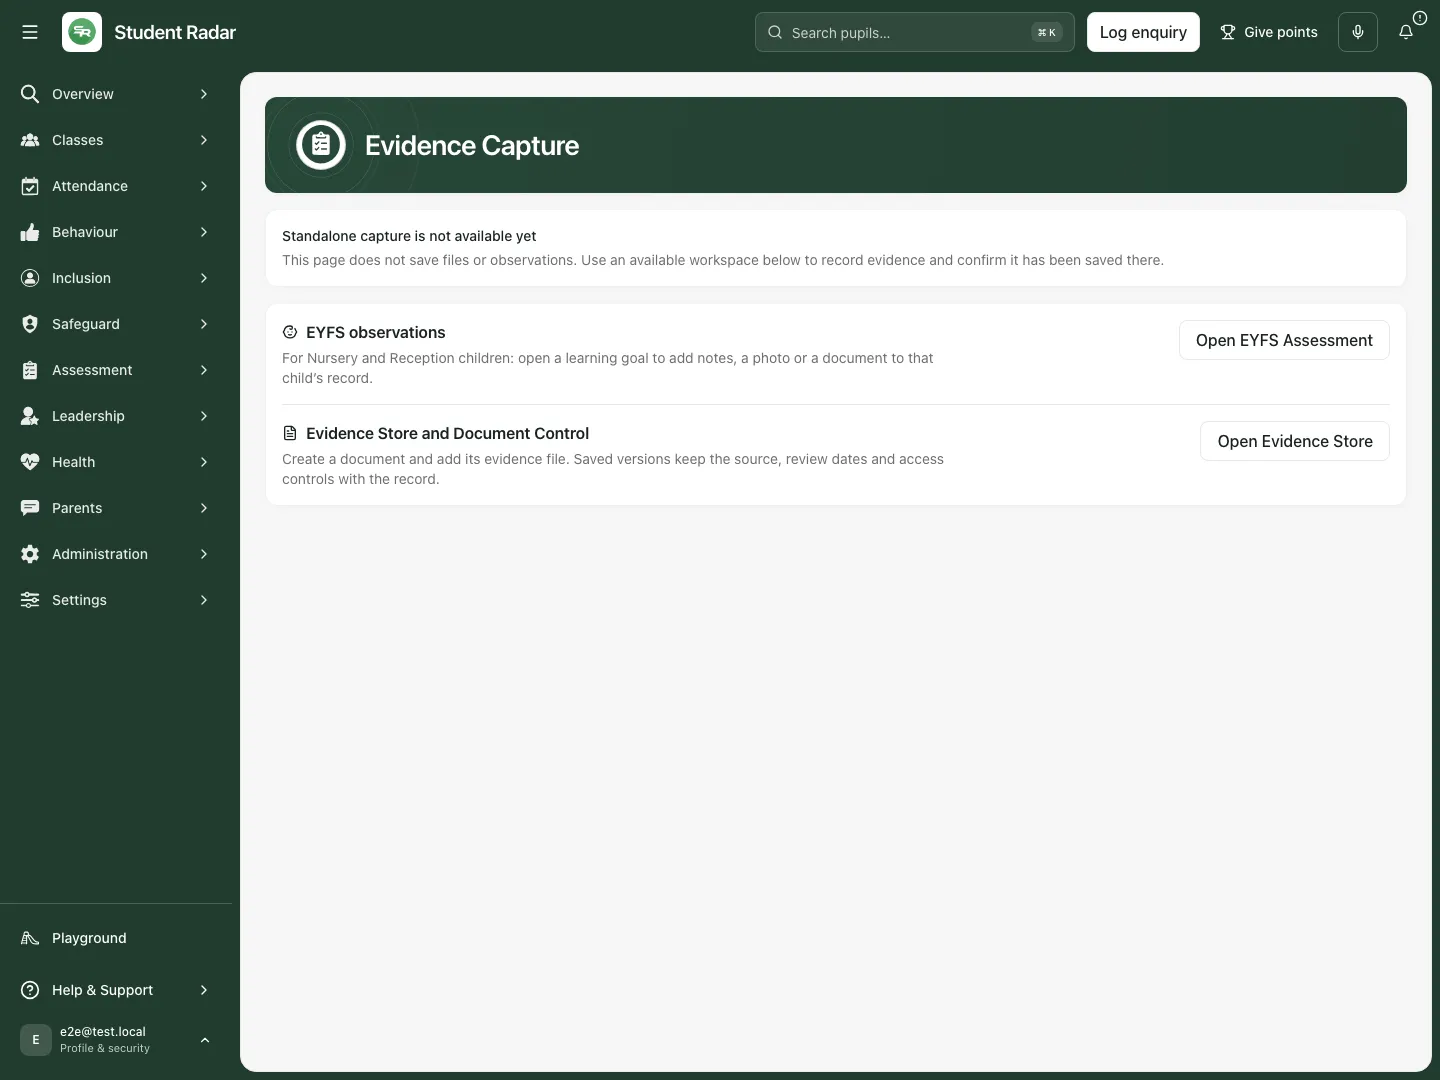 The fictional mainstream-school branch offers EYFS Assessment and the Evidence Store rather than AP-only workflows.
See EYFS Assess for the child/learning-goal workflow.
Handle no workspace or a failed check
Section titled “Handle no workspace or a failed check”- No evidence workspace is available with your current access means this page cannot currently offer a destination. It does not mean the school has no evidence.
- Check the intended school/setting and ask an authorised administrator which workflow and duty should apply. Do not copy restricted data into an unrelated form to make it visible.
- Your evidence workspaces could not be checked is a source failure, not a permission decision. Choose Try again to recheck the applicable AP operational status and permissions.
- If the check still fails, retain the intended evidence securely through the school’s established process and resolve the access/source problem. This hub has no offline save or pending upload to recover.
- A destination may load but refuse its own pupil or document. Follow that workspace’s error/retry process; the link does not override its checks.
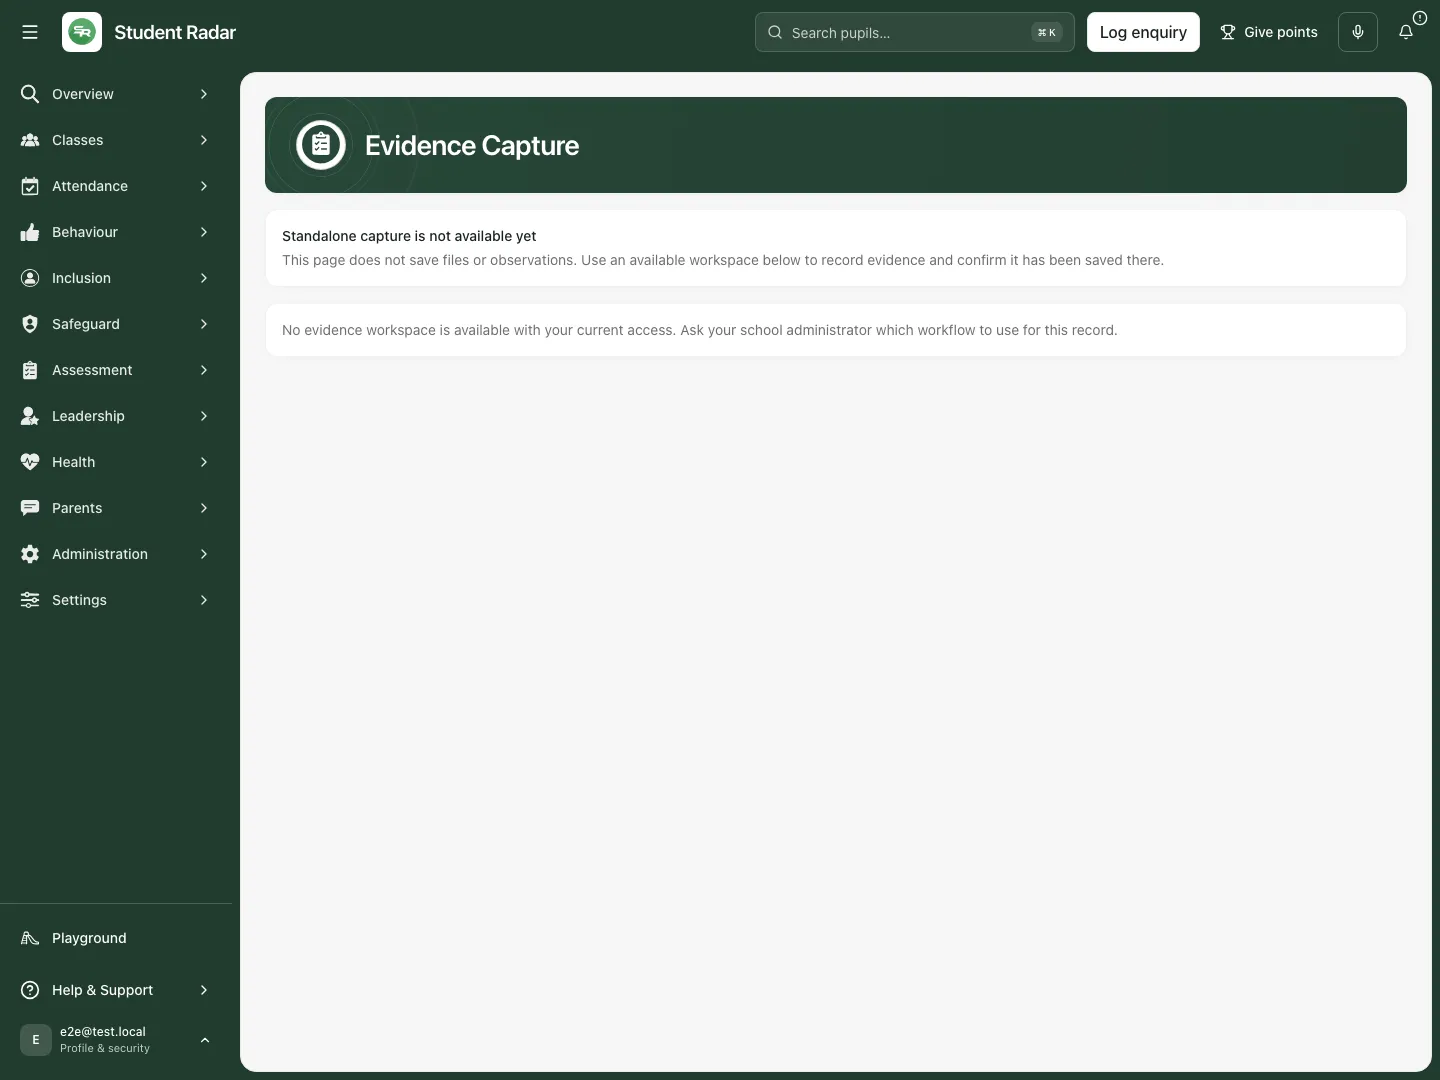 The fictional access-limited example offers no evidence workspace. It does not assert that no evidence exists.
Phone use and questions
Section titled “Phone use and questions”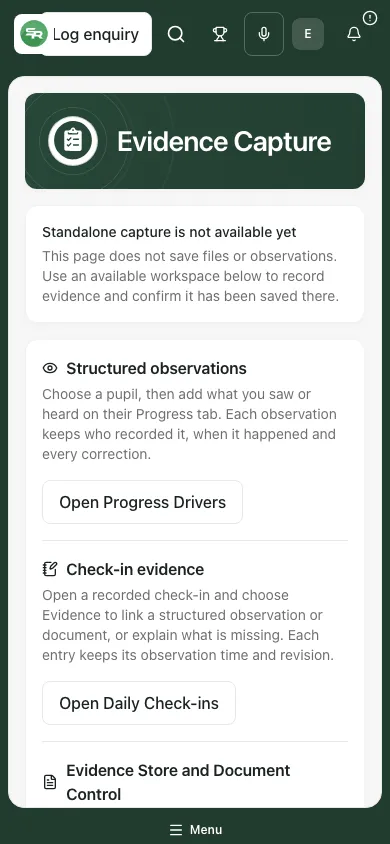 The fictional phone hub retains each destination description and action. There is no hidden standalone capture or upload control.
Where is Save on this page? There is no standalone Save. Choose the appropriate workspace and save there.
Does Open Progress Drivers create an observation? No. Choose the pupil and the actual observation action after navigating.
Why does a colleague see different cards or wording? Setting/AP activation, page access and action permissions affect the offered destinations and whether the description says read or add. Ask the authorised administrator to check the intended duty.
Can I record safeguarding or health evidence as General to make it easier to share? Use the appropriate category and specialist process. A general observation is not a way to bypass sensitive-source access or reporting.
Does returning here confirm delivery or save? No. Verify the record in its source workspace. The hub is navigation, not a combined audit or delivery screen.
Related: AP Progress Drivers, EYFS Assess.